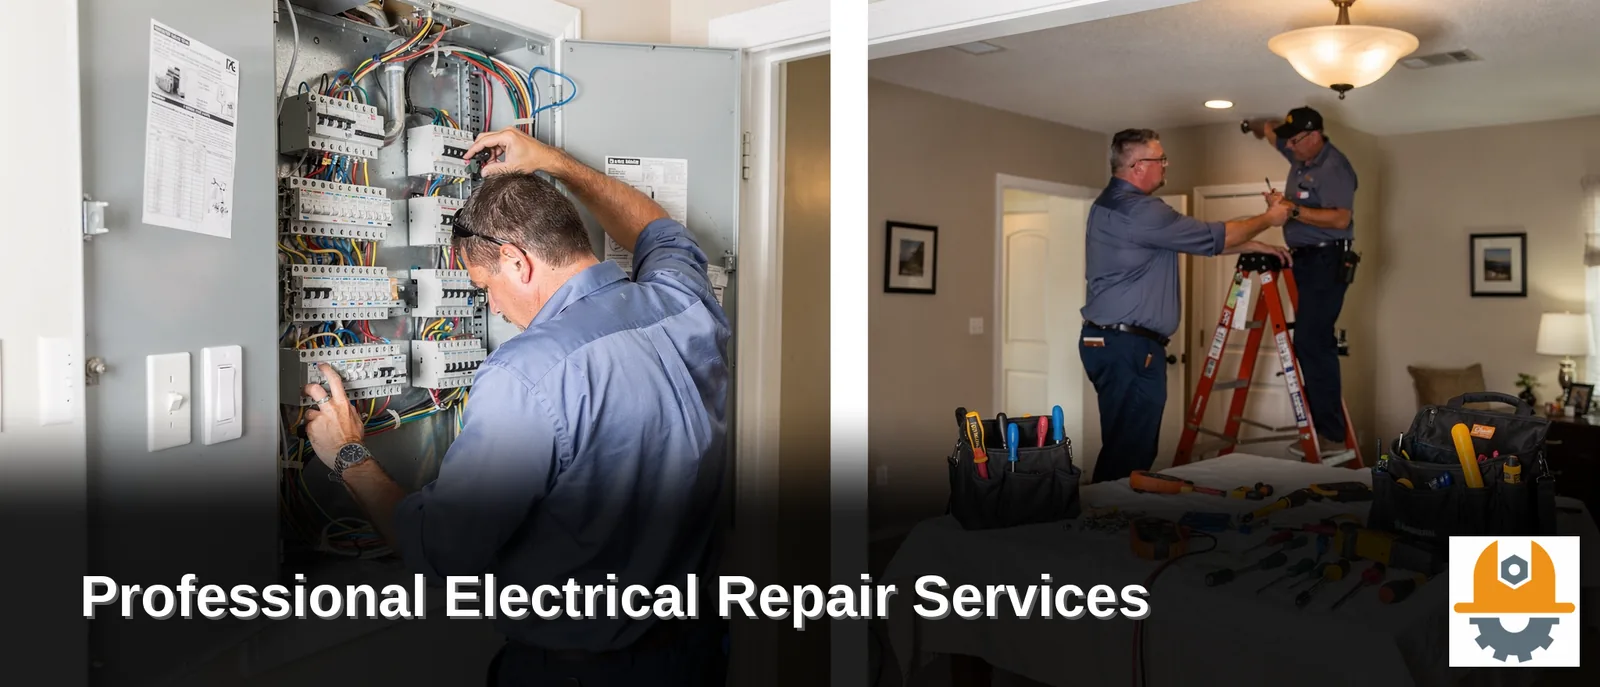




A standard light switch has three connections: two hot wires and a ground. Swapping a worn switch for a new one is among the few electrical jobs a careful homeowner can reasonably take on, and it usually takes less than an hour. This guide covers how to wire a light switch step by step, what changes when the new one is a dimmer or a smart switch, and the things you might find in the box that mean the cover goes back on and somebody else finishes the job. The breaker goes off first. Everything else follows from that.
Key Takeaways
- Turn the breaker off at the panel, then prove the box is dead with a voltage tester before you touch a wire. The switch being off is not the same thing.
- On a single-pole switch, the two black wires go to the brass screws and the bare or green wire goes to the green screw. The white wires stay capped together.
- A dimmer has to match the bulbs and the load on the circuit, and most smart switches need a neutral wire that older boxes don’t always have.
- Dull gray wires instead of copper mean aluminum wiring. Stop there.
- In San Jose, replacing a switch in an existing box needs no permit. Adding a switch where there wasn’t one is new wiring, and that does.
What to Do Before You Replace a Light Switch
Knowing how to replace a light switch starts before the screwdriver comes out. The mistake that hurts people on this job is assuming that flipping the switch off made the box safe. It didn’t. Power still reaches the switch, and in some boxes a second circuit passes through as well.
Gather these first.
- A non-contact voltage tester
- Flathead and Phillips screwdrivers
- Needle-nose pliers and a wire stripper
- A new switch rated for the circuit, 15 amps for most lighting
- A flashlight or headlamp, because the room light will be off
Check the tester on an outlet you know is live so you can trust it when it stays quiet. Then find the right breaker in the panel, switch it off, and tape a note over it so nobody turns it back on while your hands are in the box.

How to Wire a Light Switch: Replacing a Single-Pole Switch Step by Step
A single-pole switch controls one light from one location. It’s the most common switch in a house and the simplest to wire.
- Remove the cover plate and hold the voltage tester against every wire and screw in the box. If it sounds, go back to the panel.
- Unscrew the switch from the box and pull it forward gently. Take a photo of the wiring before you loosen anything.
- Identify what’s there. You should see two black wires on the brass screws, a bare copper or green wire on the green screw, and white wires capped together at the back.
- Move the wires across one at a time. Connect the ground to the green screw first, then each black wire to a brass screw. On a single-pole switch it doesn’t matter which black wire goes on which brass screw.
- Hook each wire clockwise around its screw so tightening pulls it in. Use the side screws, not the push-in holes on the back, which loosen with age.
- Fold the wires back into the box, screw the switch in, fit the plate, and turn the breaker on.
If the box doesn’t look like step 3, stop and read the section on when to hand it over. A box that surprises you isn’t a quick swap anymore.
How to Install a Dimmer Switch, and What Smart Light Switch Installation Adds
The wiring for a dimmer is close to the same as a plain switch. Most dimmers have short wire leads in place of screws, so you join each lead to a house wire with a twist-on connector: green to ground, then the two black leads to the two hot wires. The difference is in what you check before you buy.
- LED bulbs need a dimmer rated for LEDs, and the bulbs themselves have to be dimmable. A mismatch shows up as flicker or a hum.
- Every dimmer lists a maximum wattage. Add up the bulbs on the circuit and stay under it.
- Two switches that control the same light need a three-way dimmer, not a single-pole one.
- Dimmers and smart switches are bulkier than a toggle, and the shallow boxes in older homes can be a tight fit.
Smart light switch installation adds one more question: is there a neutral wire in the box? Most Wi-Fi switches draw a trickle of power all the time and need the white neutral to do it. Many older switch boxes have no neutral at all, which is why manufacturers sell retrofit models such as Leviton’s no-neutral smart dimmer.
Look in the box before you order. A bundle of capped white wires at the back means you have a neutral.

When to Hand a Light Switch to a Licensed Contractor
Swapping a like-for-like switch is a homeowner job. These five findings are not, and each one is a reason to put the plate back on.
- Dull gray wires. That’s aluminum, and ordinary switches aren’t made for it.
- No ground wire in the box, which is common in the oldest homes.
- Scorch marks, melted insulation, or a switch that was warm or buzzing before you opened it.
- A red wire or more than two wires on the switch, which means a three-way circuit or a shared box.
- No switch where you want one. That calls for a new box and new cable.
Aluminum deserves the most caution. The CPSC’s guide to aluminum wiring says homes built, extended or rewired between 1965 and the mid-1970s may have it, and that the fire hazard sits at the connections, switches included. A lot of South Bay housing dates from the 1960s and 70s, Blossom Hill in Los Gatos among it, so this comes up here more than most guides suggest.
Heat damage at one switch is rarely the whole story. Warm switches, buzzing and burning smells are on the list of warning signs in our guide to electrical repairs for San Jose homes, and they point to a loose connection somewhere on the circuit.
That’s what a preventative electrical maintenance visit is for: finding loose connections and parts running hot before they fail.
A new switch location is a different job from a replacement. The City of San José lists replacing a switch in an existing box as exempt from a permit, but electrical work outside that short list needs one. Running cable to a new box is covered on our page about new wiring for remodels and additions.
Frequently Asked Questions About Wiring a Light Switch
What color wire goes to a light switch?
In a standard switch box, the black wires are the hot wires and connect to the brass screws on the switch. The bare copper or green wire is the ground and goes to the green screw. White wires are usually neutrals, and on a basic single-pole switch they stay capped together and don’t connect.
Colors aren’t a promise in older homes. A white wire wrapped in black tape is being used as a hot, and a red wire usually means a three-way circuit. Test before you trust a color.
What happens if you wire a light switch backwards?
On a basic single-pole switch, swapping the two black wires between the brass screws changes nothing, and the light works normally. Trouble comes from other mistakes: a hot wire on the ground screw, a neutral on a terminal, or the line and load wires reversed on a dimmer or smart switch, which can stop it working.
How much does light switch replacement cost in San Jose?
Light switch replacement cost in San Jose comes down to three things: the switch itself, the time on site, and what’s in the box. A basic toggle is the cheapest part of the job and a smart dimmer the most expensive. Labor is short for a like-for-like swap and longer if the technician finds aluminum wire or heat damage.
Most companies charge a minimum for the visit, so it pays to put the switch on a list with other small jobs. Proper Hour Home Service’s electrical work includes small repairs and installations such as outlets and light fixtures, so one visit can cover several.
How long does it take to replace a light switch?
A like-for-like single-pole switch takes about 15 to 30 minutes for someone who has done it before, and a first-timer should allow an hour. Dimmers and smart switches take longer because of the bulkier body and the app setup. Anything involving new cable or a new box runs to a few hours or more.
Do I need a permit or a licensed contractor to replace a light switch in California?
In San Jose, no permit is needed to replace a switch in an existing box. Hiring is a separate question. California’s minor work exemption covers only jobs under $1,000 that need no permit and no hired workers, so new wiring, a new circuit or panel work has to go to a licensed contractor.
The CSLB sets out the limits in its bulletin on the minor work exemption. Permit rules differ between cities, so check with your own building department if you live outside San Jose. Proper Hour Home Service is a licensed contractor, CSLB #1131330.
Wire the Light Switch Yourself or Book a Technician?
If the box holds two black wires, a ground and copper throughout, a careful homeowner can finish this in an afternoon. If it holds gray wire, scorch marks or something you can’t identify, the right move is to stop with the breaker still off.
One switch is a small job, and small jobs are most of what we do. Proper Hour Home Service is a licensed contractor, CSLB #1131330, working across the South Bay and Peninsula seven days a week, 8am to 8pm, with same-day visits when a slot is open. Book a technician and send a photo of the open box if you have one.